


In general, we always need to insert some pictures when we make a presentation. However, too many pictures will make the file size of our presentation too big. So, we need to know how to compress pictures in PowerPoint. Fortunately, It’s very easy to compress pictures in PowerPoint.
In this post, we will introduce various skills and tips for compressing pictures in PowerPoint. Firstly, we will learn how to compress pictures in PowerPoint, we can either compress pictures with the Compress Pictures option or compress all pictures when saving our presentations. Secondly, we will cover how to change the default compression setting in PowerPoint. Thirdly, I’ll introduce an online image compression tool that allows us to compress pictures before inserting them into our presentations. At last, we’ll cover how to disable the compression feature in PowerPoint.
The template used in this article can be downloaded for free on this site.
Feel free to use the table of contents below to jump around.
How to compress one picture or all pictures in PowerPoint?
It’s easy to compress pictures in PowerPoint. You can use the “Compress Pictures” option in the Picture Format tab to compress one picture or all pictures in your presentation, or you can also compress all pictures when saving a PowerPoint file.
First, I have downloaded 2 pictures from pexels.com. The file size of the two pictures is 3.76M and 2.01M, respectively. You can download more free stock images from these 14 websites for your presentations.
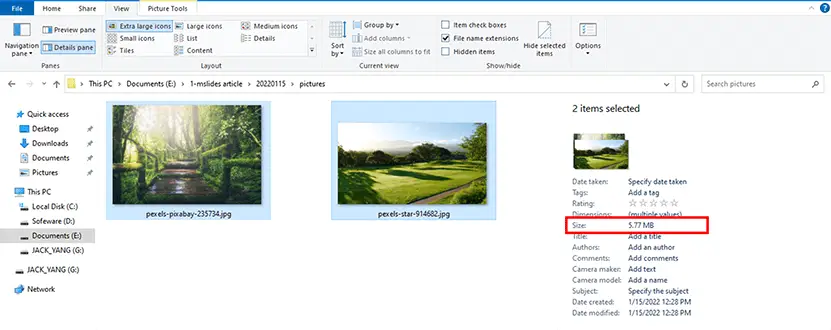
The file size of the template we are using is 1.34M.
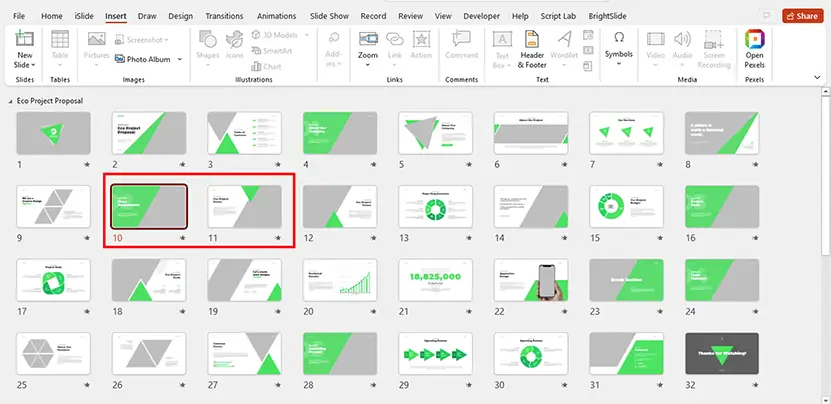
Then, I inserted these two pictures into my presentation. After inserting pictures, the file size of my presentation increased to 7.48M.
1. Compress pictures using the “Compress Pictures” option
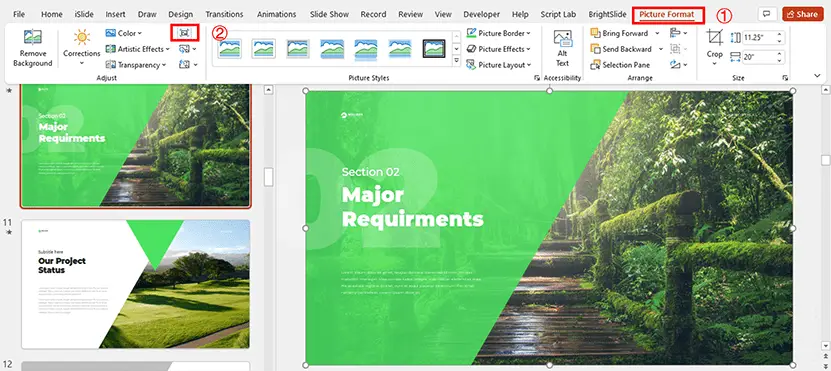
Select the picture you want to compress, and the “Picture Format” tab will emerge in the PowerPoint ribbon. And then you should click this tab and you’ll find out many options to customize the picture. And then click on the “Compress Pictures” option.
After you click on the “compress Pictures” option, a pop-up window will emerge.
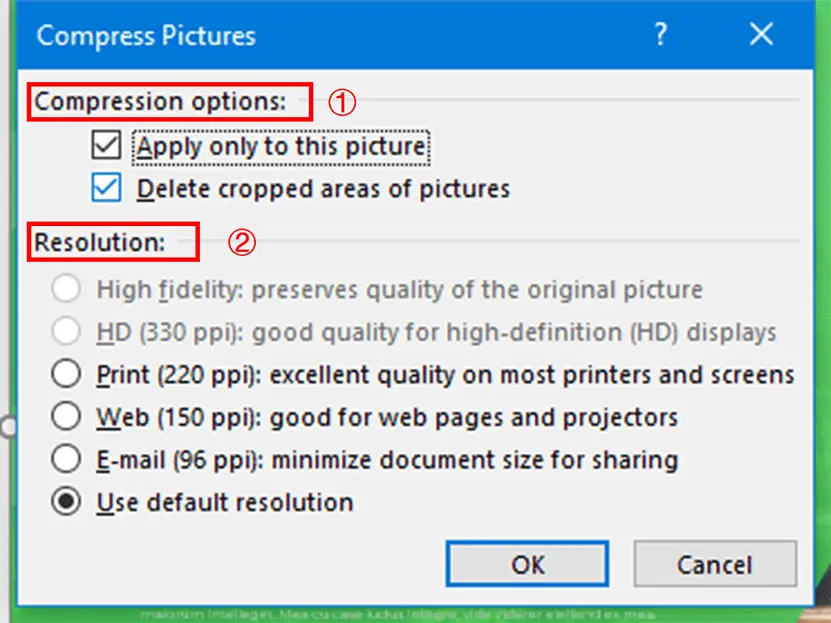
The pop-up window contains two parts: the Compression options part and the Resolution part.
(1) Compression options part
In the Compression options part, you can choose if you want to apply the compression only to this picture and if you want to delete cropped areas of pictures.
By default, both options are checked. If you need to compress all pictures in the presentation at the same time, you need to uncheck the option “Apply only to this picture”.
(2) Resolution part
In the Resolution part, you can choose a resolution you want to apply to this picture. In general, if you’ll use this presentation on a screen, you should choose “Print (220 dpi)”; If you’ll use this presentation on a projector, you should choose “Web (150 dpi)”.
If you want to share your presentation with others, you can choose the resolution “email (96 dpi). But all images will be blurred after compressing using this resolution. So, you should check if the presentation is perfect for you to share. In my experience, even if we need to share the presentation, we should not use this resolution to compress pictures. I always use the resolution “Web (150 dpi)” to compress my presentations when I want to share them with others.
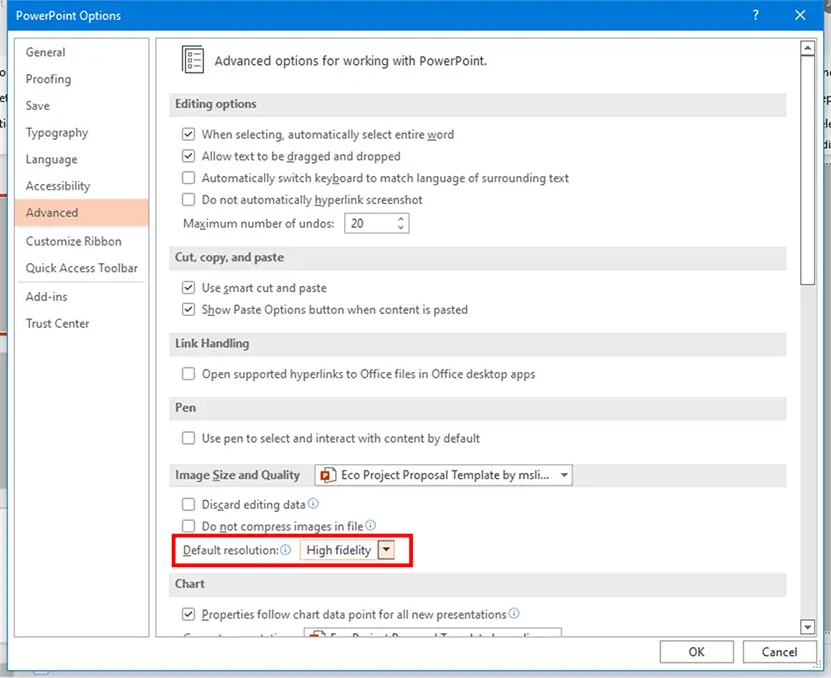
By default, PowerPoint will use the default resolution to compress pictures when we insert pictures into our presentations. The default resolution is “high fidelity”, and you can change it as you want.
2. Compress pictures when saving PowerPoint files
Besides using the “Compress Pictures” option in the Picture Format tab to compress pictures in our presentation. We can also compress all pictures when saving our presentations.
I always use the feature to compress pictures in my presentations. When I make a presentation, I do not compress pictures in my presentation. I’ll save a copy of my presentation to my computer after completing my presentation. I’ll compress all pictures when saving the copy.
Step 01. Click on the “File” option on the PowerPoint ribbon. And then click “Save as”.
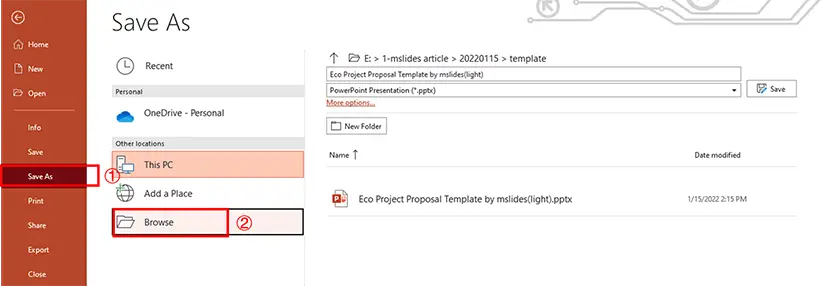
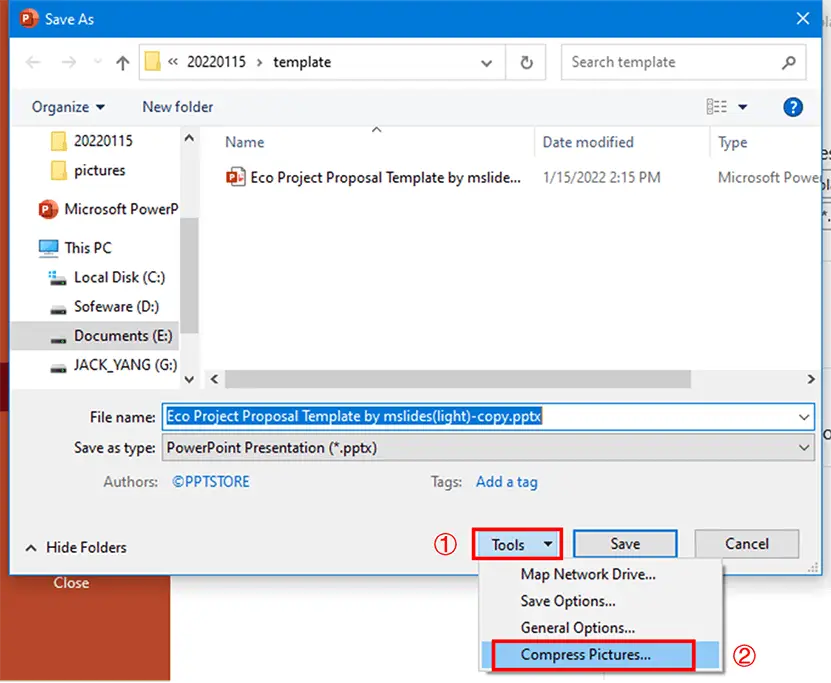
Click “Browse”. PowerPoint will open the file manager to let you save your presentation. Click on the “Tools” option, and then click on the “Compress Pictures” option.
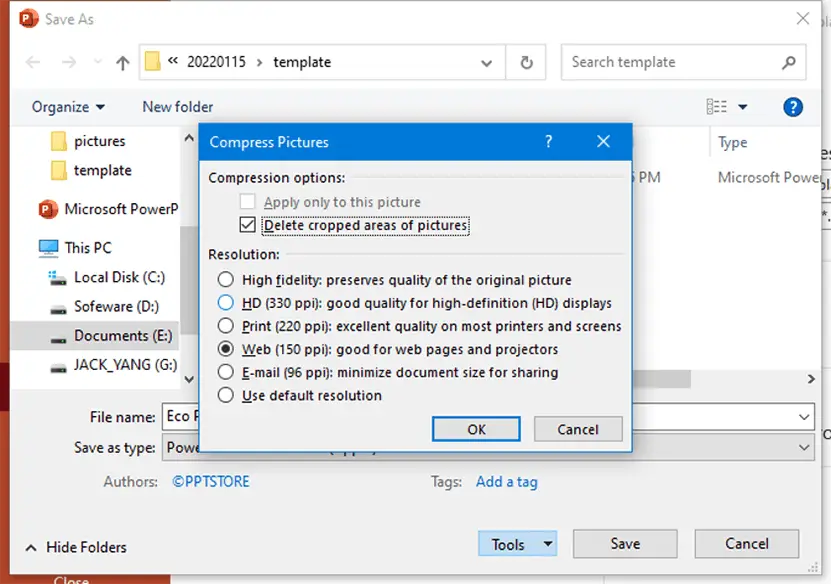
The “Compress Pictures” window will emerge. Choose the perfect setting for your compression and then click “OK”. I checked the option “Delete cropped areas of pictures” and choose the resolution “web (150 dpi).
You should note that you’ll compress all pictures in your presentation when you compress pictures when saving.
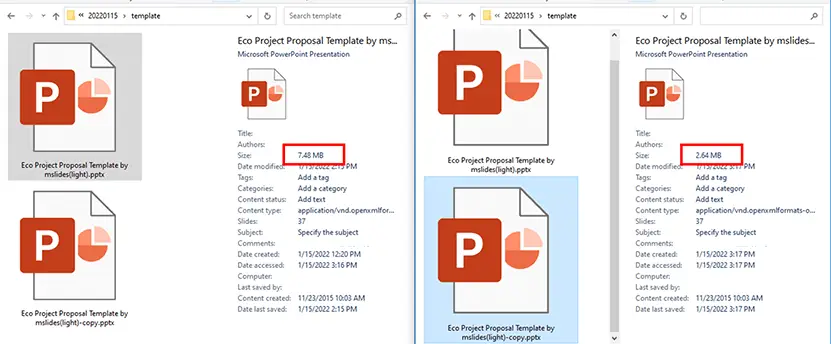
The file size of our presentation after inserting the two pictures is 7.48M and the file size of the copied one with compressed pictures is 2.64M.
How to change the default compression setting in PowerPoint?
We can use the default resolution when we compress pictures in our presentation. The default resolution is High fidelity. In many cases, we need to set another default resolution like 220 dpi. How to change the default compression setting in PowerPoint?
Click “File” and then click “Options” to open the PowerPoint Options window. Click on the “Advanced” option on the left side of the Options window. There is a section named “Image Size and Quality”. You can change the default compression setting in this section.
There are three options you can set:
(1)Discard editing data
If you are sure that you’ll not edit the pictures in your presentation, you can check this option.
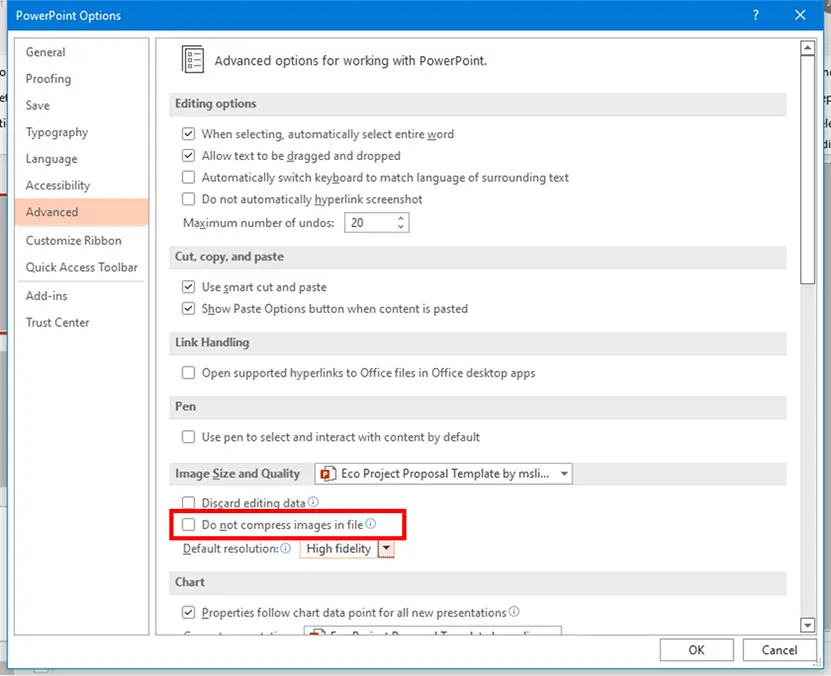
(2)Do not compress images in the file
If you do not want PowerPoint to compress your pictures automatically when you insert pictures into your presentation, you should check this option. In general, we should leave it unchecked.
(3)Default resolution
It’s a good manner to choose a default resolution for our presentations. I always set the default resolution of my presentations to 220 dpi and then I can compress my pictures without choosing the resolution.
You should click “OK” to apply your setting.
Please Note: these settings will be applied to this presentation only.
How to compress pictures using an online tool?
That we can compress pictures in PowerPoint, and we can also use some online tools to compress our pictures before inserting them into our presentations.
There are many online tools for compressing pictures. I always use a tool named Optimizilla to compress my pictures. It’s a very useful tool for compressing images.
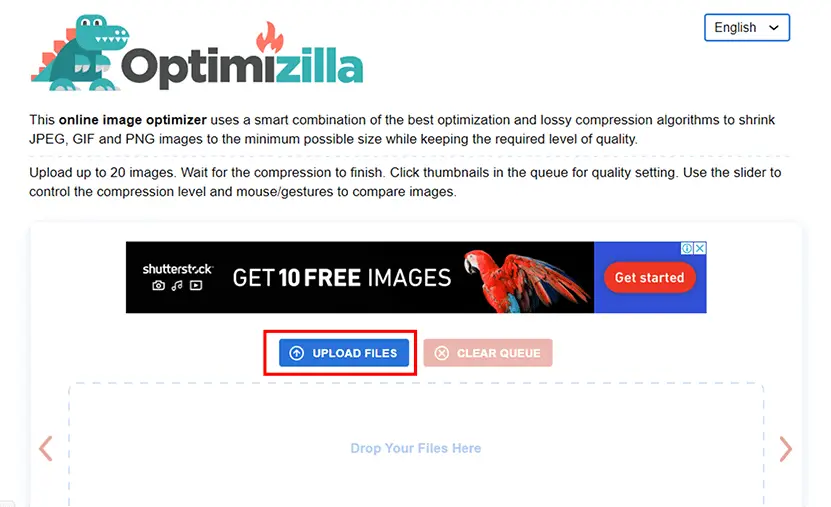
You can click the option “Upload Files” to upload your images, or you can drag and drop your pictures into the dashed box.

After you upload your pictures, this tool will compress your pictures automatically. You can download the compressed pictures after the compression is completed. You can download these pictures separately or download all of them.
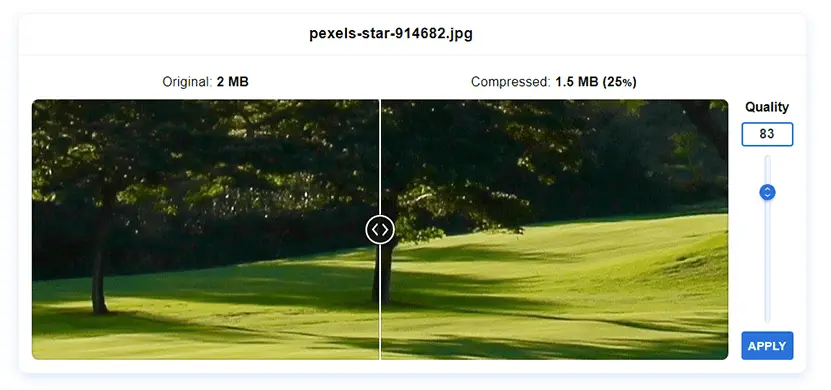
If you do not satisfy with the compression, you can adjust the quality of the compression. In most cases, the default compression quality is perfect.
How to disable the compression feature in PowerPoint?
When we insert pictures into our presentations in PowerPoint. All pictures will be compressed automatically according to the default compression setting. If you do not want PowerPoint to compress your pictures, you should change the default compression setting and check the option “Do not compress images in the file”.
Click “File” -> “Options” -> “Advanced”, and then check the option “Do not compress images in the file”.
6 tips for compressing pictures in PowerPoint
In this post, we learned many skills for compressing pictures in PowerPoint. Firstly, we learned how to compress one picture or all pictures in PowerPoint. secondly, we learned how to change the default compression setting in PowerPoint. thirdly, I introduced an online tool for compressing pictures. At last, we learned how to disable the compression feature in PowerPoint.
There are some tips for compressing pictures in PowerPoint:
- It’s a good manner to set a default resolution for your presentation and use this default resolution to compress the pictures in your presentation.
- You should always make a copy of your presentation before compressing pictures using a low resolution.
- When you want to share your presentations with others, you do not need to compress pictures using the resolution “E-mail (96 dpi)”. The resolution “Web (150 dpi)” is always better.
- The best formats of pictures for PowerPoint presentations are PNG and JPG. If the format of your pictures is other formats like TIFF, you should convert them to PNG or JPG before inserting them into your presentation.
- By default, PowerPoint does not delete the editing data including cropped areas of pictures of your presentation. You can discard editing data if you are sure, you will not edit all pictures in your presentations.
- If you use 3D shapes as pictures in your presentation, you should save these 3D shapes as pictures and insert these saved pictures into your presentations.
Have any questions? Feel free to leave a comment!