
Adding pictures can make your presentations more interesting and engaging. You can download many free stock images for presentations from many websites and then insert them into your presentations. But this method is not convenient and fast. But can I quickly find and insert pictures in PowerPoint? Yes. Firstly, you can use the Online Pictures option. This feature is very helpful. Secondly, if you are using Microsoft 365, you can also find and insert pictures from stock images in PowerPoint. At last, there are many add-ins to help you find and insert online pictures in PowerPoint without downloading pictures to your computer.
Three ways to insert online pictures in PowerPoint:
- Insert online pictures
- Insert stock images
- Use add-ins to insert online pictures
In this tutorial, I’ll go into more detail about these methods. For comparison, I’ll use the term “business” for searching. I’ll use PowerPoint in Microsoft 365. If you are using another version of PowerPoint, the options may be different.
Optional: Download our free PowerPoint template used in this tutorial.
Insert online pictures in PowerPoint
STEP 01. Select the Insert tab, then click the Pictures command in the Images group. There are 3 options, click the Online Pictures option.

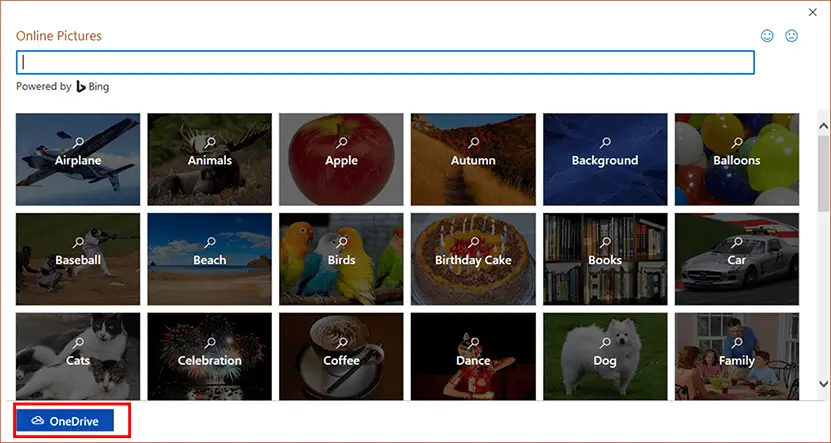
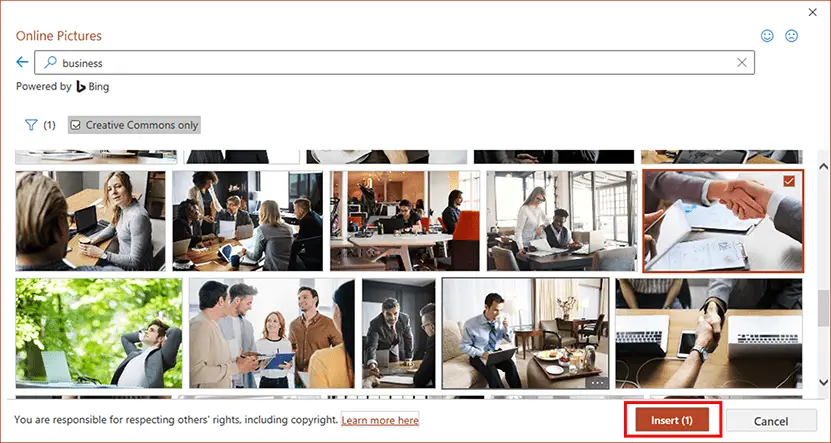
STEP 02. This option brings up the Bing image search window, as shown in Figure 02. You can click the keywords or enter a keyword to search. You can also choose to insert pictures from your OneDrive.
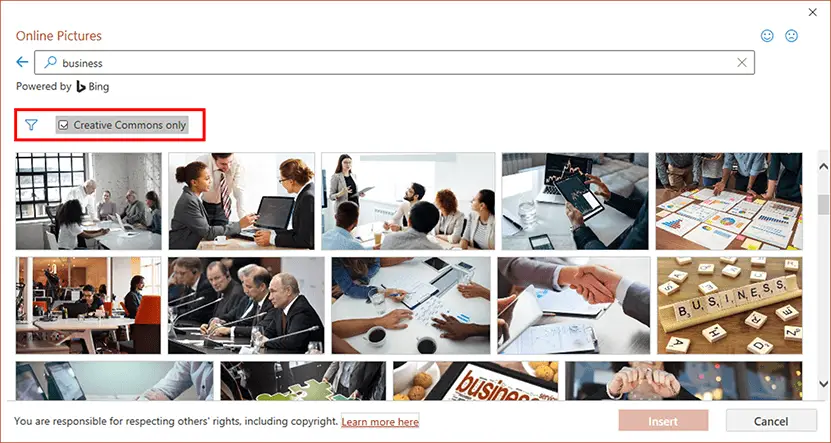
STEP 03. After searching, you’ll get many pictures. You can filter the results and choose to see pictures with the Creative Commons license only.
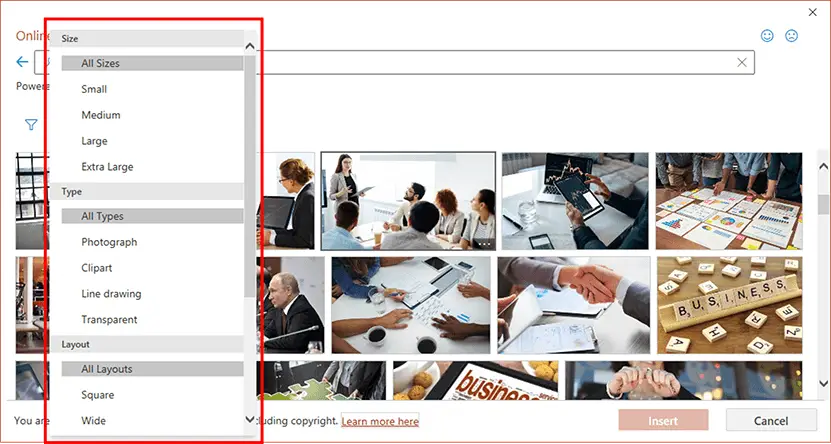
Click the Filter icon, you’ll find many options to filter the images. You can filter these images by size, type, layout, or color.
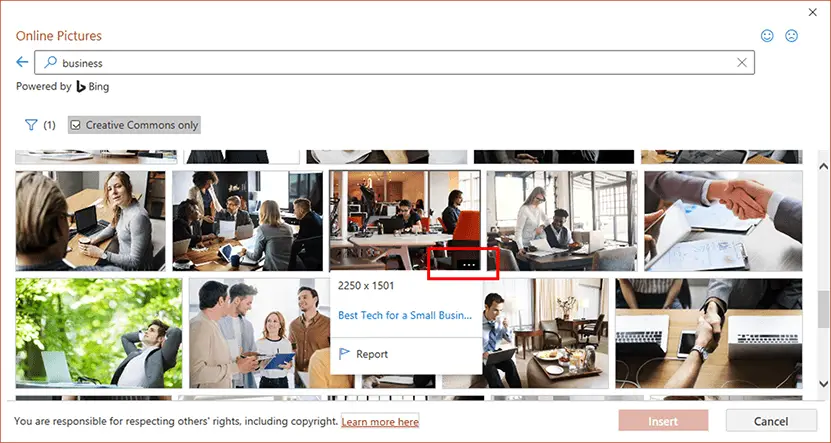
STEP 04. Click on the three dots in the lower right corner of the image, you’ll see the size and original link of this picture.
STEP 05. Click on the image of your choice to select. You can also select multiple pictures. Then, click the Insert button, as shown highlighted in red within Figure 06 below.
After you choose and insert the picture you want to use, the picture will be cropped and inserted into the image placeholder.
Insert stock images
If you’re using Microsoft 365, you can use stock images that come with the PowerPoint software.
STEP 01. Select the Insert tab, then click the Pictures command in the Images group. There are 3 options, click the Stock Images option.

STEP 02. This option brings up the Stock images window, as shown in Figure 2. You can click the keywords or enter a keyword to search.
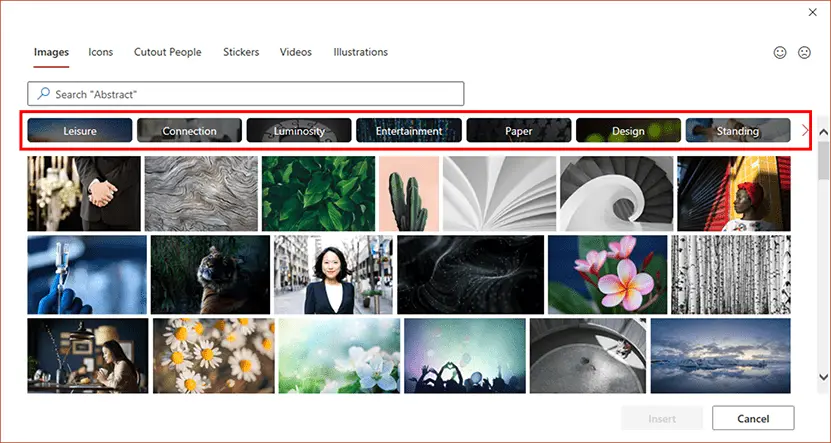
There are many keywords below the search box. So you can click on them or enter a keyword in the search box to search.
STEP 03. Click on the image of your choice to select. You can also select multiple pictures. Then, click the Insert button, as shown highlighted in green within Figure 4 above.

Similarly, the picture will be cropped and inserted into the image placeholder too.
Use add-ins to insert online pictures in PowerPoint
There are many add-ins that let you insert online pictures in PowerPoint. I have tested many add-ins and chosen the three best add-ins to insert online pictures in PowerPoint.
Pexels
Pexels is a great website to find high-quality free stock images. You can use this add-in to search and insert pictures from Pexels without downloading any pictures.
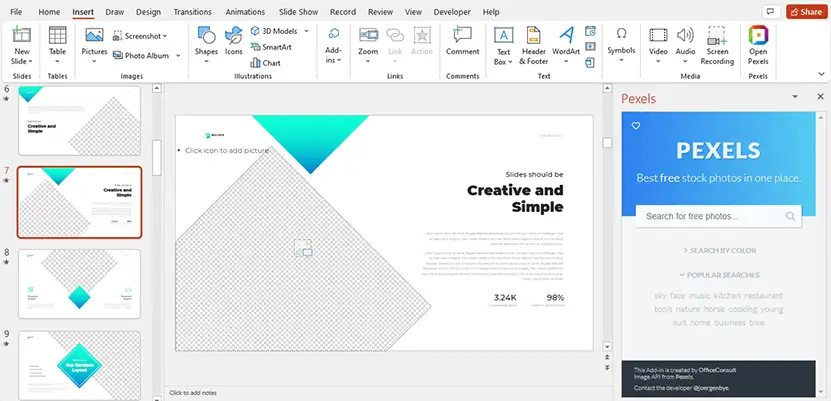
Pixabay
Pixabay is another great website to find high-quality free stock images. This add-in lets us insert pictures from Pixabay in PowerPoint.
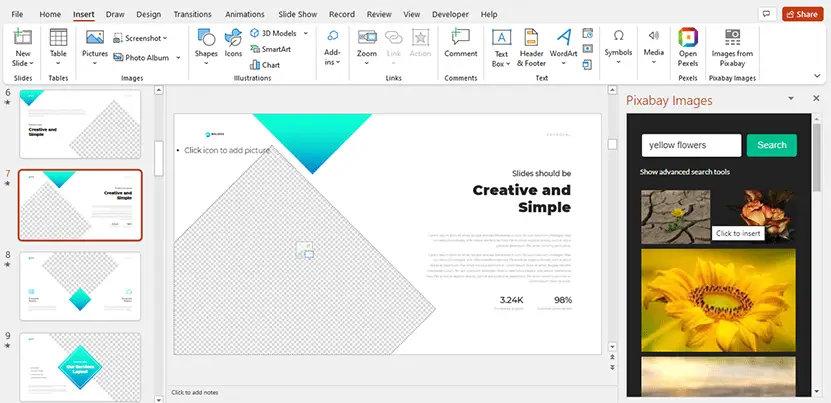
Content Chooser
This is a great add-in that lets you search and insert free stock images from Unsplash and Pixabay. In addition, you can connect your OneDrive account and save your favorite pictures.
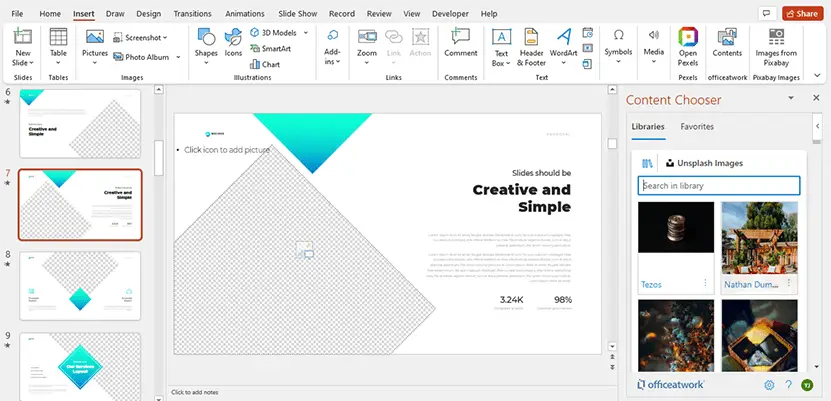
It’s very easy to use these add-ins. You can just enter your keywords and search in them, and then click the images you want to use, the image will be automatically downloaded and inserted into your slides. If there are picture placeholders on your slides, the images will be inserted into the picture placeholder.
Conclusion
Inserting online pictures directly in PowerPoint is a great way to insert pictures into our presentations. Firstly, we can use the Bing image search engine in PowerPoint to search for images. Secondly, if you are using Microsoft 365, you can use the stock images that come with PowerPoint. At last, I recommended 3 add-ins that let us insert free pictures into our presentation without downloading.
I insert the picture into an image placeholder, and you can learn more about inserting pictures in PowerPoint by clicking this link.
If you like this tutorial, please share it with your friends, I would appreciate it.
Have any questions? Feel free to leave a comment!

