

What would you do if you need to use pictures from your presentation in other presentations? Copy these pictures and then paste them? However, when we copy these pictures in our presentation to other files, we can only get low-resolution pictures. So, you should know how to Extract Images from PowerPoint Presentations.
If we need to re-use the background picture of a slide, how can we extract the background image? In addition to saving pictures in our presentation one by one, can we quickly extract images from PowerPoint presentations?
In this article, we will introduce some methods for extracting pictures in PowerPoint. Firstly, we will introduce how to save a single picture from our presentation to our computer. Secondly, we’ll show you how to extract the background image from our presentation. At last, we will introduce a method to extract all the pictures in our presentation quickly.
You can download this PowerPoint presentation template used in this article for free.
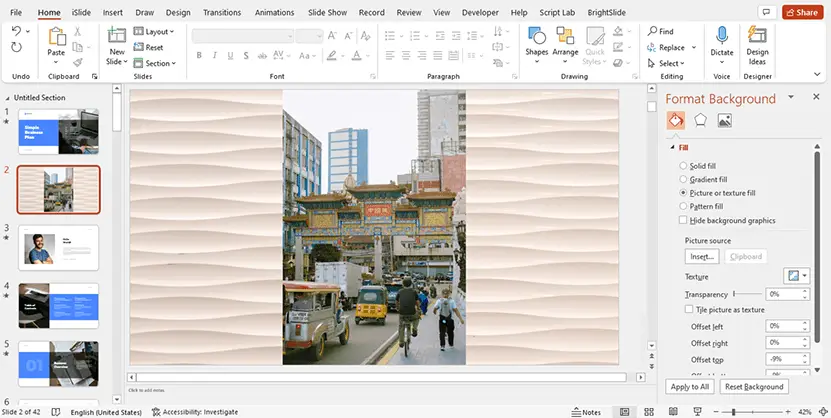
For the convenience of introduction, I created a new blank slide in my presentation and inserted a high-resolution image with a dimension of 4000 x 6000 px and a resolution of 72 dpi. If you don’t know how to insert a picture in PowerPoint yet, you can click here to check the post about inserting pictures in PowerPoint. In addition to that, I added a background picture to this slide. Its dimensions are 5867 x 3911 px and its resolution is 72 dpi.
We download these pictures from Pexels. If you don’t know where to download high-quality free stock images, you can click here to learn more about stock images websites.
1. How to extract an image from a PowerPoint presentation?
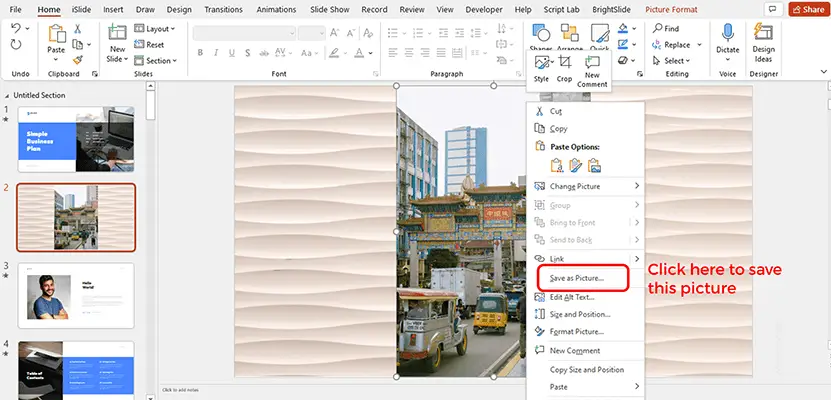
After opening your presentation, you need to navigate to the slide containing the image you would like to extract. Right-click on the image, and then click the “Save as Picture” option.
After clicking the “Save as Picture” option, PowerPoint will open the File Manager and allow you to save the image to your computer.
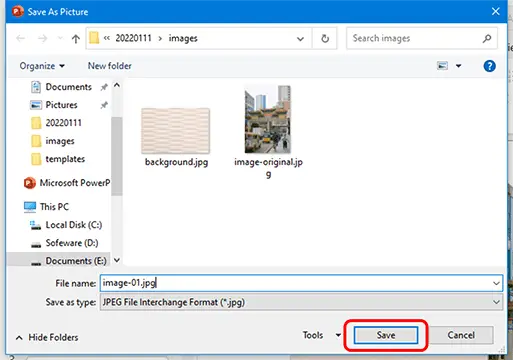
After navigating to the proper directory and renaming the image, we can click the “save” option to save this image.
2. How to extract the background image of a slide in PowerPoint?
If the picture that we want to extract is the background of a slide, we can’t choose it or copy it. you must save the background image to your computer.
But how can we save the background image?
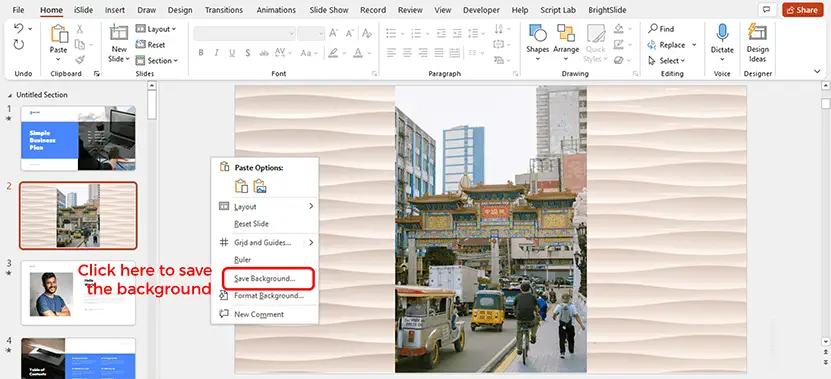
Firstly, we need to navigate to the slide containing the background image you would like to extract. Then right-click in the blank space of the page and click on the “save background” option.
After clicking the “Save background” option, PowerPoint will open the File Manager too.
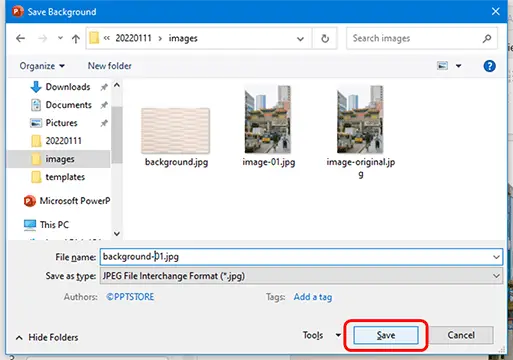
After navigating to the proper directory and renaming the image, you can click the “save” option to save this image.
3. How to extract all images from a PowerPoint presentation?
Sometimes, there are a lot of images included in our presentation, and we needed to extract all of them. If we still save these pictures one by one, we will need to spend a lot of time to get this done. Is there any other way to quickly extract all the images in our presentation? Of course.
We can change the file name extension of our presentation from .pptx to .zip, and then extract all files in the .zip file, after the extraction you can get all files contained in our presentation including all pictures.
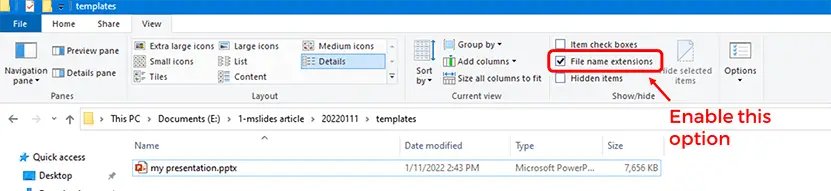
STEP 01: open the file manager and Navigate to the directory containing the PowerPoint presentation with images.
If you can’t see the file name extension of your files, you should click on the View tab. In the Show/Hide section, click on file name extensions to enable it.
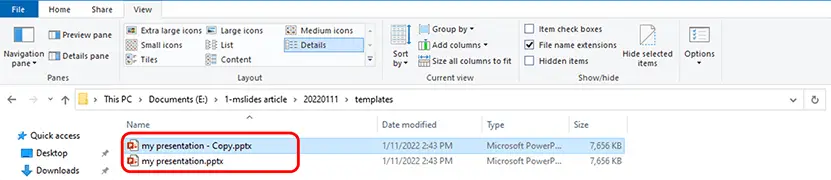
STEP 02. Make a copy of our presentation.
Click the presentation to select it. Then, right-click on it and click the “Copy” option or you can just use the shortcut Ctrl+C to copy it.
And then, we should Right-click in the empty space and click the “Paste” option or you can just use the shortcut Ctrl+V to paste it.
In this way, we have successfully copied a copy of our presentation.
STEP 03. Change the extension of the copy of your presentation.
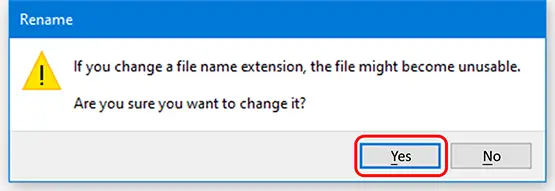
Right-click on the copy of your presentation and click the “Rename” option and change the file extension from .pptx to .zip. We will get a warning. Click on “Yes” to accept.
Step 04. Extract all images
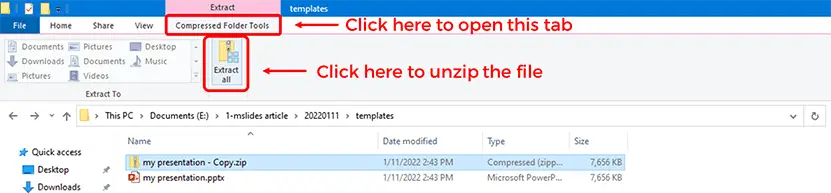
Click on the zip file, the “Compressed Folder Tools” tab will appear, click it to open this tab. Then, click the “Extract all” option in this tab.
After clicking the “Extract All” option, a new window will pop up. You can select a destination and extract files. And then, click “Extract”.
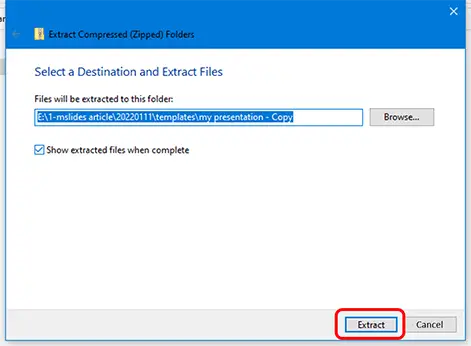
You can use the default destination and all files in the zip file will be extracted to a new folder with the same name and directory of your zip file.
Double-click on the Extracted folder to open it.

There will be a folder named “ppt”. Double-click on it to open it.

After opening the “ppt” folder, you’ll find out a folder named “media”. All media files are included in this folder including all images.
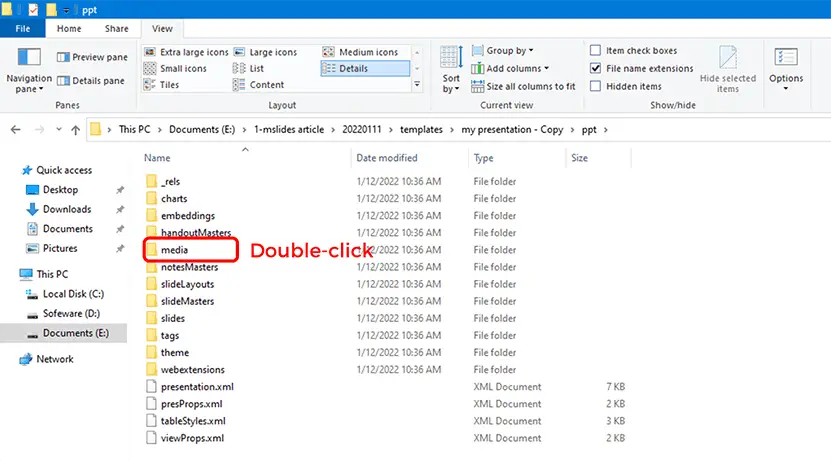
Double-click on it to open it.
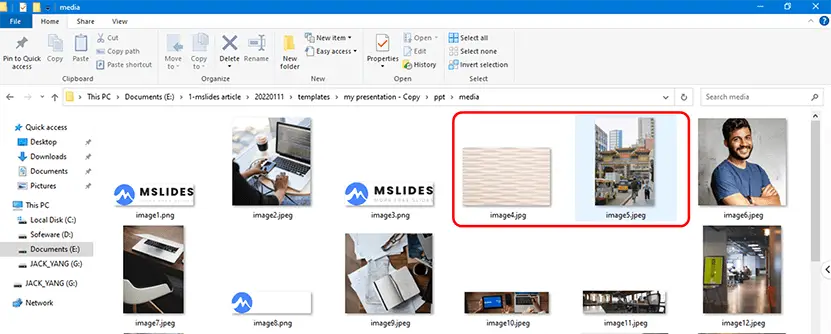
Now, we have extracted all images from our presentation successfully.
4. How to extract all images from a PowerPoint presentation on a Mac?
We can use the same method to extract all images from a PowerPoint presentation on a Mac. Firstly, we should change the file name extension from .pptx to .zip. Secondly, use an unzip software such as Unarchiver to extract the zip file. At last, open the “media” folder. You can find out all images used in your presentation in this folder.
5. Conclusion
In this article, we introduced some methods for extracting images from presentations. However, you should note that when we insert pictures into our presentations, PowerPoint will automatically compress these pictures. Moreover, to reduce the file size of our presentation, we need to compress pictures in our presentation in general. So, the pictures we extract are not the original pictures.
In this article, we inserted two pictures and we did not compress them. We compared the extracted pictures with the original pictures.

According to the above table, we know that PowerPoint compressed the picture insert into slides automatically, but it did not compress the background picture automatically.
If we want to use the images in our presentation again, we should keep all original files of them for further use.
Have any questions? Feel free to leave a comment!